Details About Intra Manager Testing
- Setting Reference Values Manually
- Setting Reference Values Via ISO 13528
- Manage Your Measured Values
- Submitting Data to your Intra
- Remove / Change Participant on Intra
- Move Intra Between Locations
- Login to the Customer Portal
- Using the menu at the top, select Intra
- Click on the Data Analysis Tab
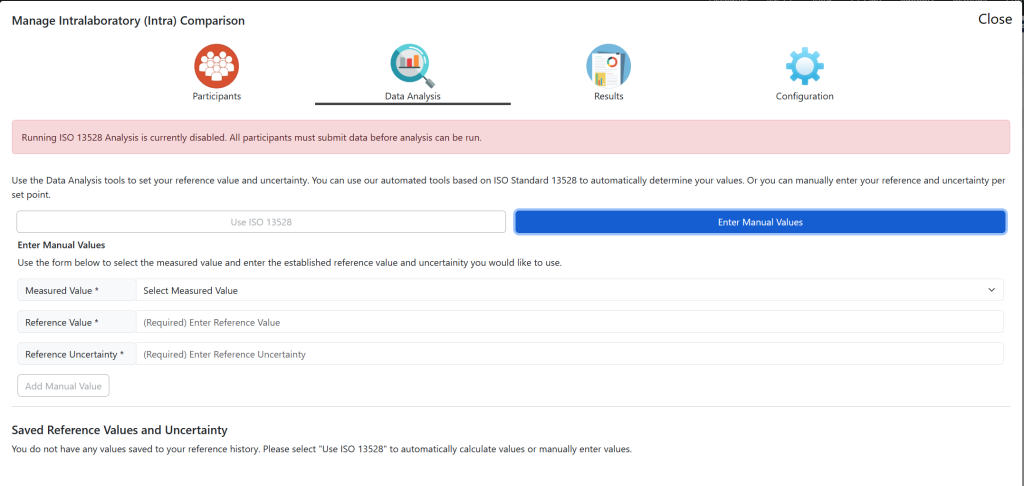
- Select the Manual Tab
- In the resulting form, enter the manual values you wish to set for your Reference Value and Uncertainty.
- After you have selected “Set Value” the table will update and show your saved values. Repeat this for every Measured Value in your Intra.
- Login to the Customer Portal
- Using the top menu, select Intra
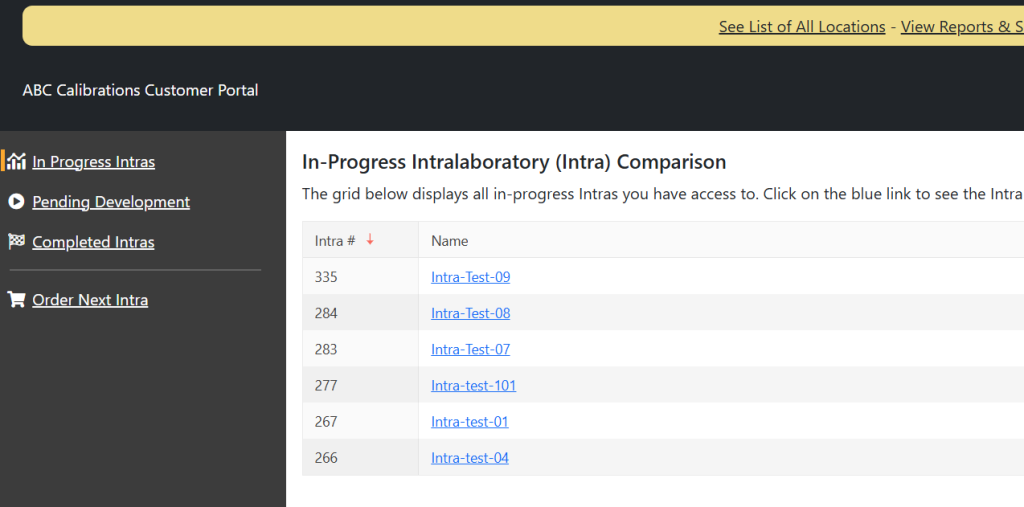
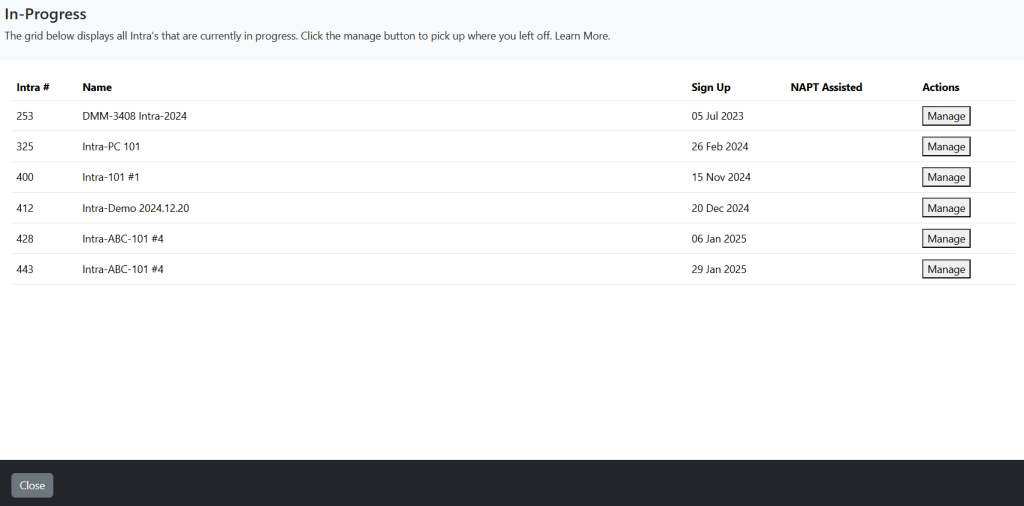
- Under the In-Progress Intra, select the Intra you wish to Manage.
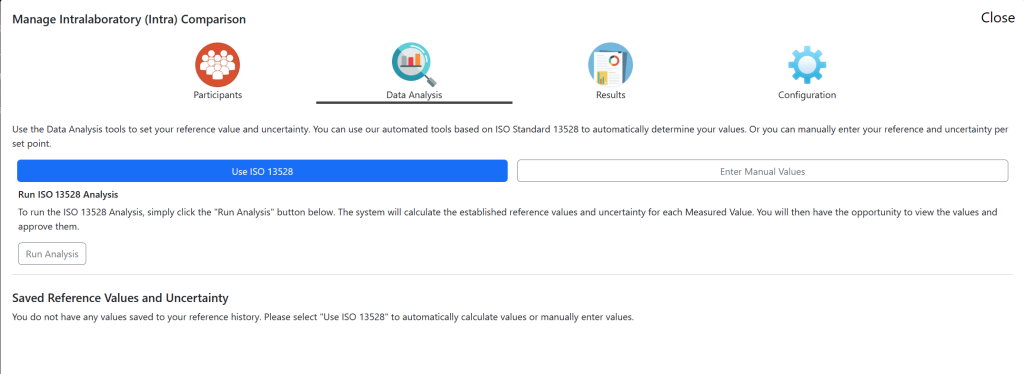
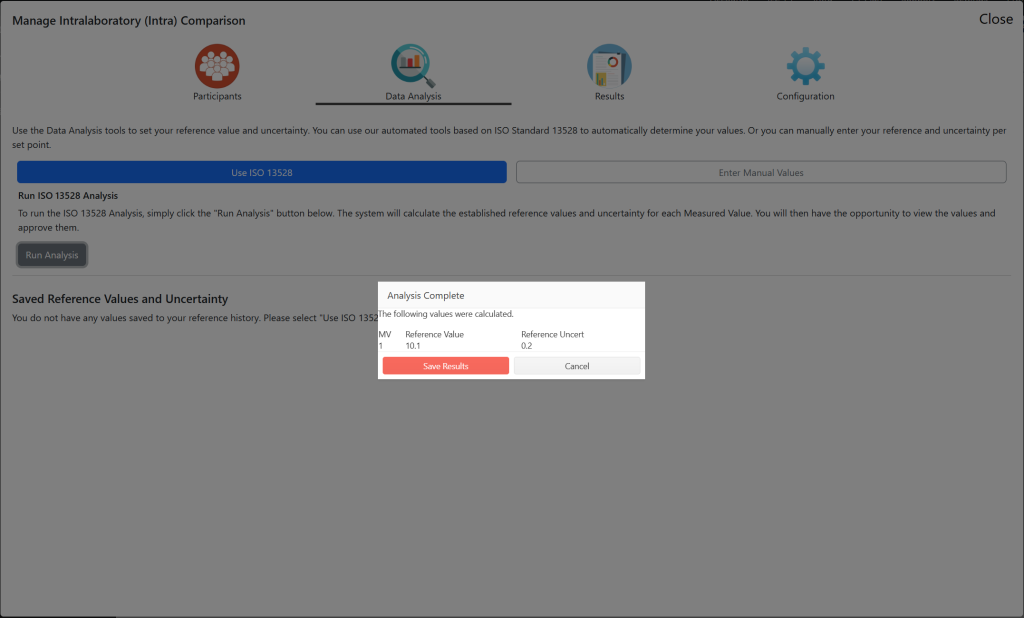
- Click on the Data Analysis Tab. Select ISO 13528.
- When the analysis is completed, you will be given a summary page where you can either Accept the values or cancel.
- Once you have saved the results, the table at the bottom of the page will update to display your saved results.
- Login to the Customer Portal
- Navigate to Intra at the top of the page
- Click on the Intra you wish to manage
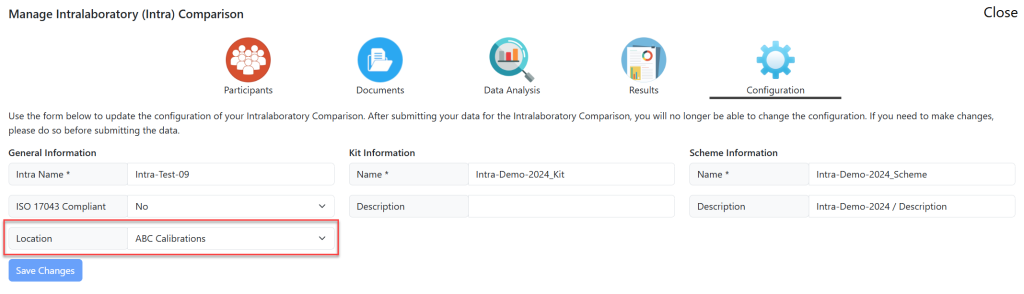
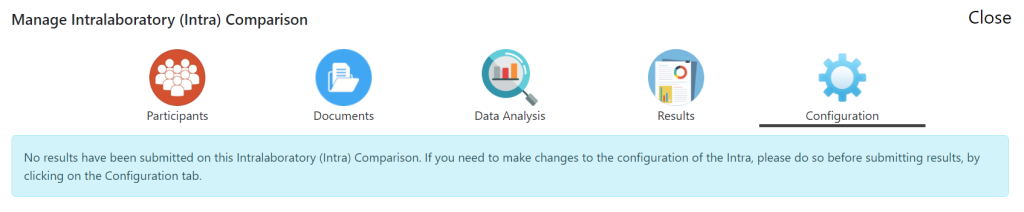
- Click on Configuration Tab
- Scroll to the bottom and find the list of available Measured Values assigned to the Intra.
- Login to the Customer Portal
- Using the top menu click on Intra. Select In-Progress Intras.
- Under the In-Progress Intra, select the Intra you wish to Manage.
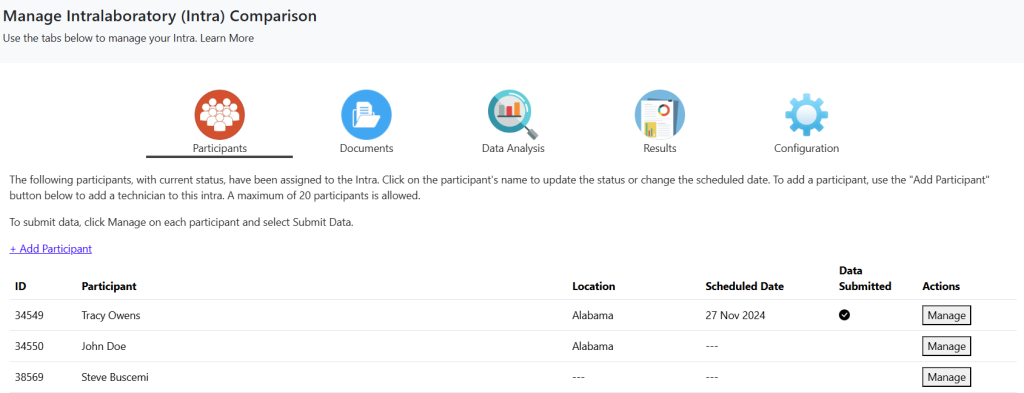
- From the Participants table, select the Participants name for which you wish to submit data. From the Participant table, select the Submit Results option.
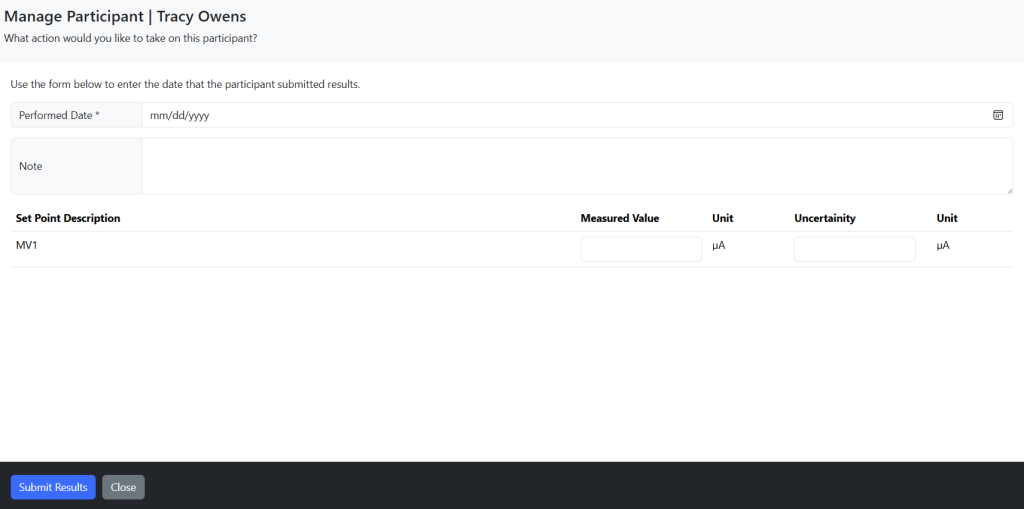
- On the resulting page enter the date the ILC-PT was performed and the date the data was entered. It will default to today’s date. In the grid, click in the row under Measured Value and Uncertainty and enter the ILC-PT Submission Results. These can be seen in the below picture.
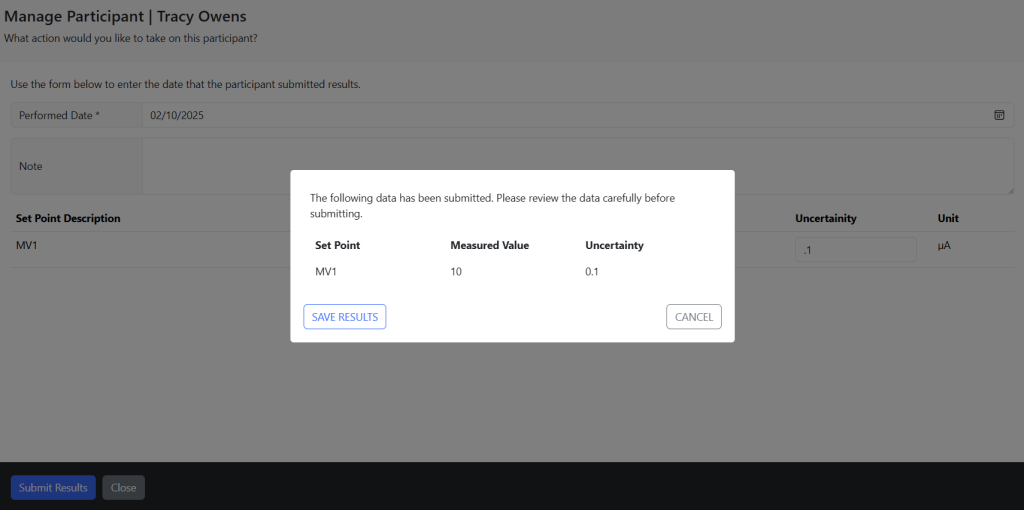
Repeat this for every Measured Value that was tested. - When you click Review and Confirm Data, you will see a pop-up message.
- When submitted, you will see a page that allows you to save or print the results.
- Log in to the Customer Portal.
- Select “Intra” from the top menu.
- Select an Intra that is currently In Progress
- From the resulting screen, select the Configuration tab. From the configuration, select the new Location you wish to move the Intra to and click “Save Changes”
Setting Reference Values Manually
The NAPT Intra allows you to set reference values via ISO 13528 or Manually. This document walks through the manual assignment process.
Steps to Complete

Under the In-Progress Intra, select the Intra you wish to Manage.


Setting Reference Values Via ISO 13528
The NAPT Intra allows you to set reference values via ISO 13528 or Manually. This document walks through the ISO 13528 assignment process.
Steps to Complete
Manage Your Measured Values
The Customer Portal allows customers to seamlessly manage your measured values.
NOTE: You can ONLY modify measured values if no data has been submitted by any participants.
Steps to Complete

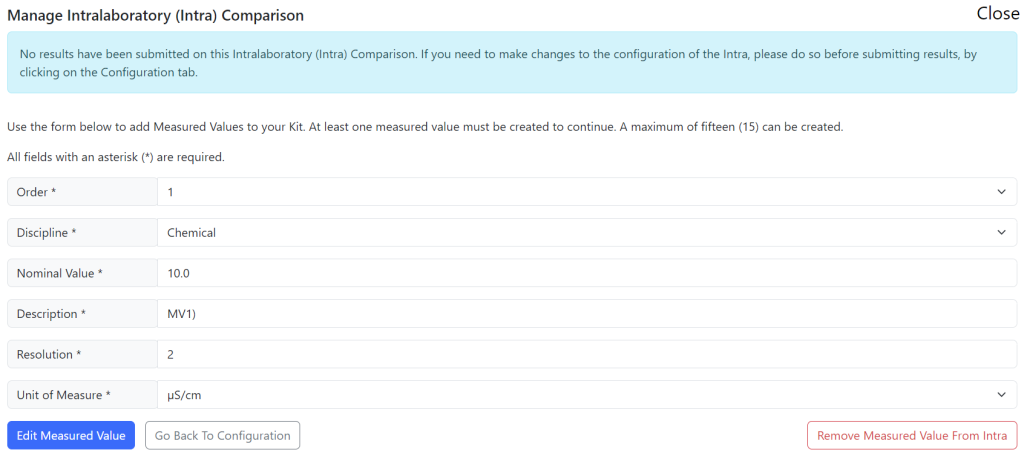
You can now either Add a new Measured Value or Edit/Delete an existing Measured Value.
To Edit or Delete an existing measured value – click on the name of the Discipline. From there, you can edit the existing measured value or delete one.
Submitting Data to your Intra
To submit data on behalf of users in an Intra, use the following steps.
Steps to Complete

Once complete, click the SAVE CHANGES button in the blue box.
Repeat this task for each participant. When you have submitted data, you will see the Participant update Data Submitted.
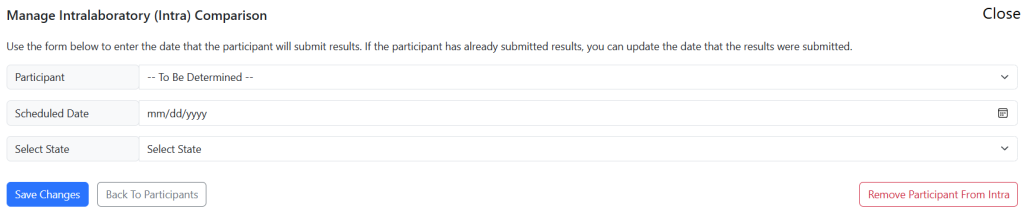
Remove / Change Participant on Intra
You can easily add or remove a participant from an Intra using the Intra Management Tool. Once you have completed the Intra, click on the Intra you wish to manage under In Progress Intra.
Remove Participant
Under Participants, find the Locations or Scheduled Date tab. Click on either.
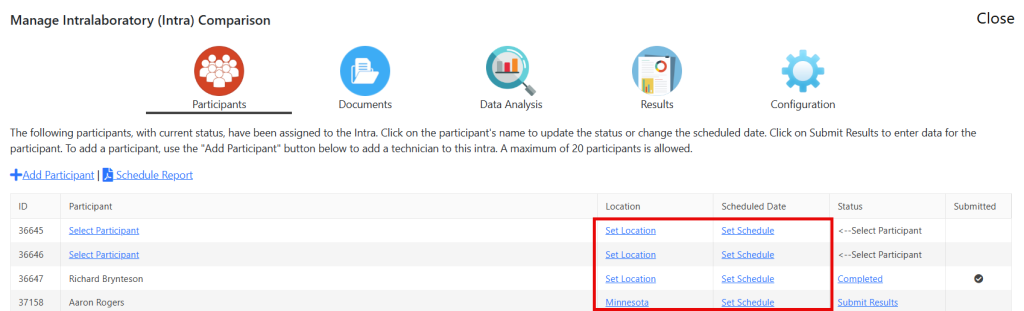
On the resulting screen, in the right corner you can remove a participant.
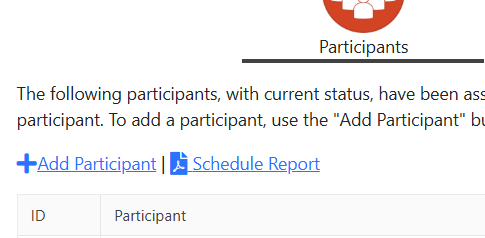
Add New Participant
To add a new participant to your Intra, click the Add Participant button above the table.
On the resulting screen, you can either select a participant from your existing list of technicians (red box) or you can add a new person (blue box).

Move Intra Between Locations
Customers have the ability to move an Intra between locations via the Customer Portal.
Move Intra